Web Integration
Easy One-Click Integration
1.To integrate your web site, choose the Web site or app analytics clickable image.
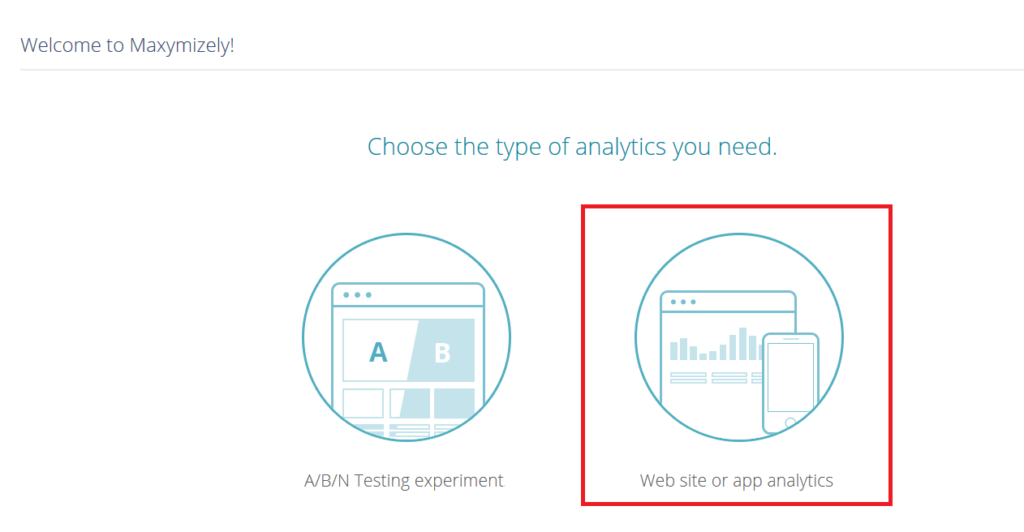
Web/Application Integration Icon
2. Name your analytics in the web site profile.
3. In the Select Platform dropdown, choose the proper type.
4. Enter the Web site URL in the field that appears.

Profile Creation
5. Edit the time zone field if needed and press Done.
Note: If it’s application integration, go here and follow a proper integration guide (Android, iOS, ActionScript).
6. To choose the elements on the site, which you want to track, press the Integration Editor button.

Integration Editor
7. Right click on each element, name it, and save it.
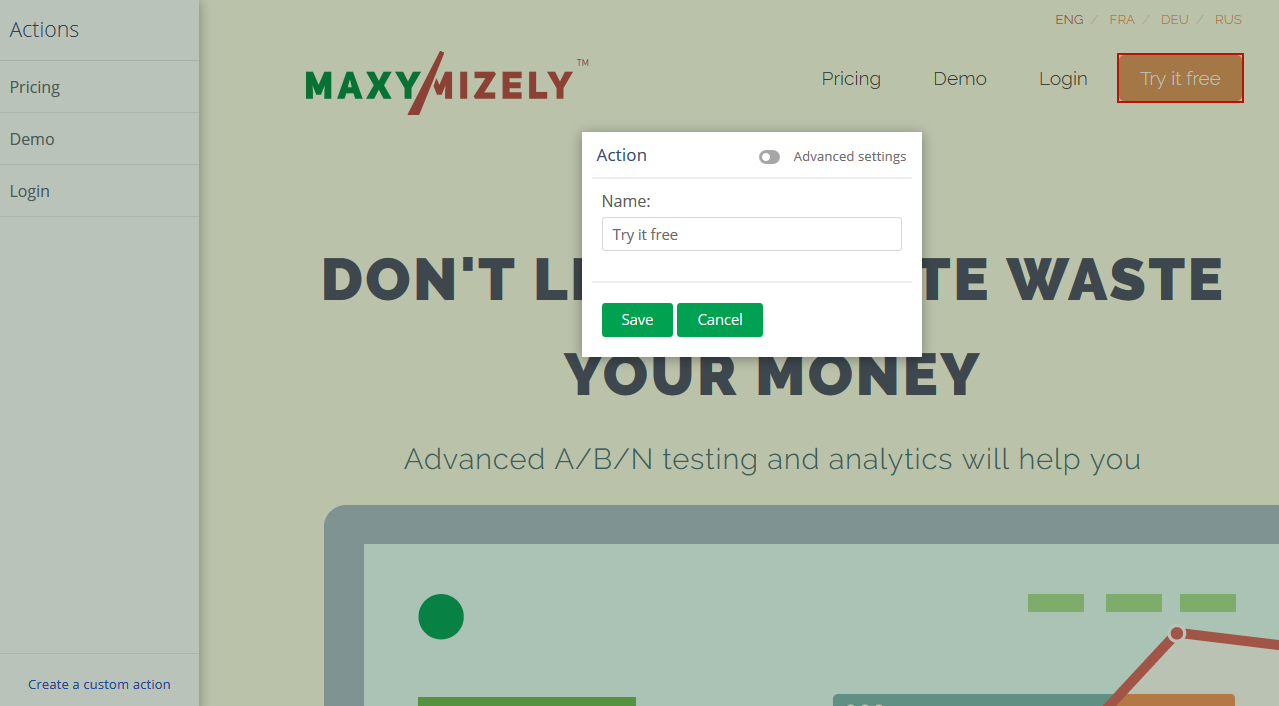
Tracking Elements Selection
8. Insert the integration script that is provided by Maxymizely after the <head> part of the HTML code of your web site, and in a while you can enjoy the analytics of your tracking elements.
Note: Remember that this integration code you can also get in Settings->Application->Application Menu->Scripts.
PLEASE DO NOT CHANGE THE SCRIPT!
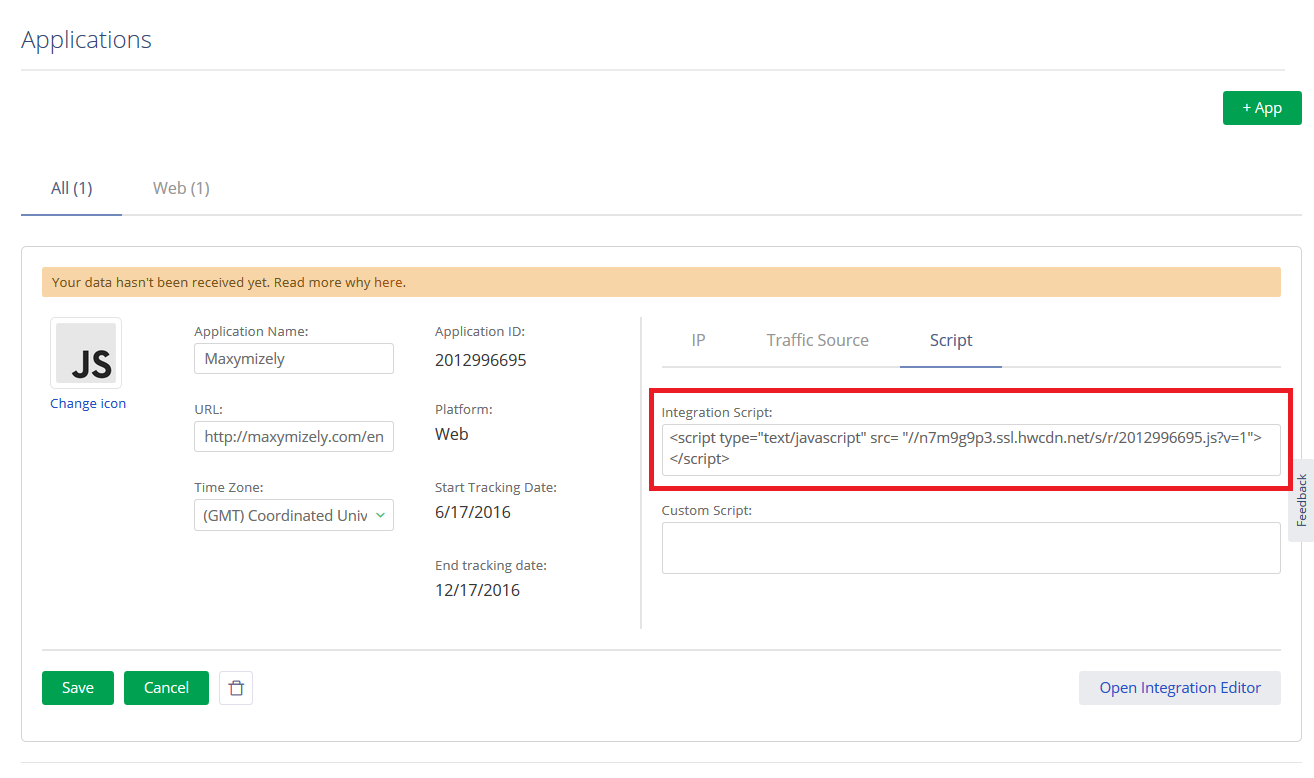
Script Insertion
Advanced Integration Configuration
To control the working logic of the Maxymizely tracking system, use these fields and methods:
Main configuration fields:
- SiteId – an identifier of the resource needed tracking
- ConfigurationId – an identifier for user tracking
- ExternalId – a unique user identifier (for example, an internal user ID in the database, email, login, Facebook ID, or any other information that helps identify a unique user)
- AutoIntegration – a flag that indicates the type of library integration with the page. During the auto-integration the form events (for example, click, show, scroll, etc.) will be automatically transferred through the events ChangeElement.
Additional configuration methods:
BMTracker.sendCustomAttribute(attribute); This method allows assigning a set of additional parameters to a user, organized in the JSON object form of the following structure:
{
    key1 : value1,
    key2 : value2,

    keyN : valueN,
}
The data types of values value1 … valueN need to be simple, such as a number, a symbol, or a string.
Application
The basis for analysis is the process of tracking events that are taking place within the application. These events can be initiated by a user, as well as by interactive content within the window where the content is located.
Event types include:
- LoadPage – page loading
- Click – element activating
- ViewElement – element reviewing
- Download – file loading (by the user)
- Upload – file loading (on the server for the user)
- Submit – form data sending
- Registration – registration process completing
- Purchase – purchasing or payment making
- Login – user identification
- Other – other events
- Error – error checking
- SessionStart – session starting
- SessionEnd – session ending
- Confirmation – action confirming
- ChangeElement – content/state of the control element changing
- Search – search query sending
- Install – application/widget installing
Note: The LoadPage event prompts automated loading and initializing of a page by the system. In case of dynamic content creation which requires a conditional page reload, the event call can be done manually.
For the manual page initialization, you need to use the following method:
BMTracker.Init(false); Each event has seven string attributes which you can chose from:
- Content – page/ section identifier
- Referrer – address of the resource that redirected user
- Title – page/section title
- Value – event value
- CustomAttribute1 – user’s attribute
- CustomAttribute2 – user’s attribute
- CustomAttribute3 – user’s attribute
The configuration parameters are specified as a JSON object with a specific structure.
Example 1 (a forced process for the page load event):
<a href="#" onclick="BMTracker.trackAction(BMTracker.AT_LOADPAGE(),
{ Content: 'Virtual page address',
Referrer: ' Virtual address of the previous page',
Title: 'page name' });">Next Page</a>
Example 2 (activation of the transition of the next page):
<a id="selectpage1" href="#" style="color:Green"
onclick="BMTracker.trackAction(BMTracker.AT_USER(),
{Value:this.id, CustomAttribute1:this.href,
CustomAttribute2:this.innerHTML,
CustomAttribute3:this.style});" >Next Page</a>